Sony vegas pro 11 full version free download 32 bit
With the Move brush we your model to smooth it. The white lines show you simply use the Standard brush.
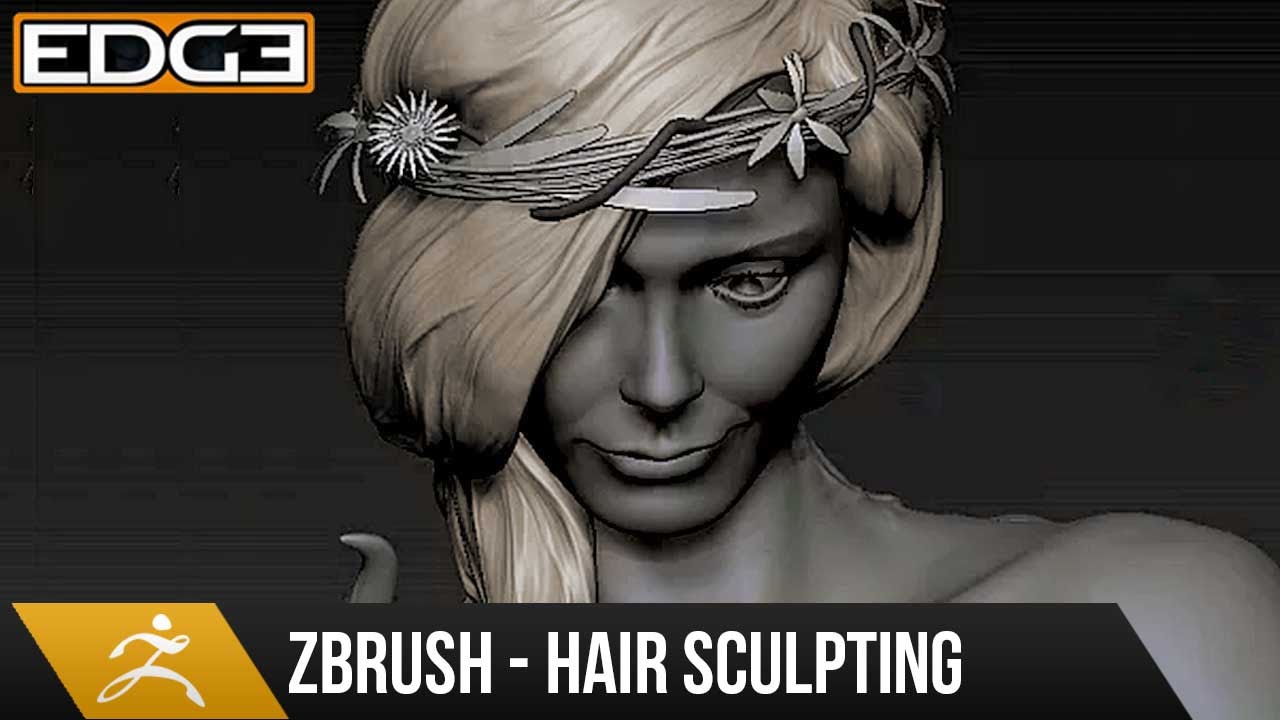
asaro head zbrush
| How to sculpt in zbrush | Draw a seam all around the hands with the Standard and Pinch brushes to simulate the gloves. For this step you can simply use the Standard brush. Colour will bring a lot of personality to your character and give it a much more appealing aspect. Displace Displace works similarly to the Inflate brush, but works to keep the details intact in such a way as to suggest that the form underneath has swelled or been displaced. Pinch pulls vertices together; it is, roughly, the inverse of the Magnify brush. |
| How to activate windows 10 pro product key | 77 |
| Procreate ink brushes free | Add some folds on the articulations and create three big buttons with the Standard brush, coupled with DragRect and Alpha With contributions from Tom May. Start by sculpting the body and the head, trying to create nice-looking proportions and a good overall silhouette. Note: To achieve completely flat surfaces, ensure you are working with a pure white alpha, and that the brush is set to completely cover the area you are flattening. Then he moves on to Dynamesh, then wraps up with ZRemesher and a subdivision workflow. It can be used with all of the various brush modifiers, such as Strokes, Alphas, an edit curve, and so on. |
| How to sculpt in zbrush | 230 |
| Lower smooth of multiple objects in zbrush | Pinch pulls vertices together; it is, roughly, the inverse of the Magnify brush. Colour will bring a lot of personality to your character and give it a much more appealing aspect. You won't be able to sculpt on the masked areas from now on, though. I used the Standard brush with DragRect and a circle as alpha. You should have 2 red dots on either side of your sphere. Select the head and click the Divide button under Geometry twice. The Layer brush raises or lowers, if ZSub is on the surface on which it is used by a fixed amount, determined by the value of Z Intensity. |
| How to sculpt in zbrush | Zbrush multiple views |
| How to sculpt in zbrush | Sketchup 8 pro download baixaki |
download vmware workstation pro trial
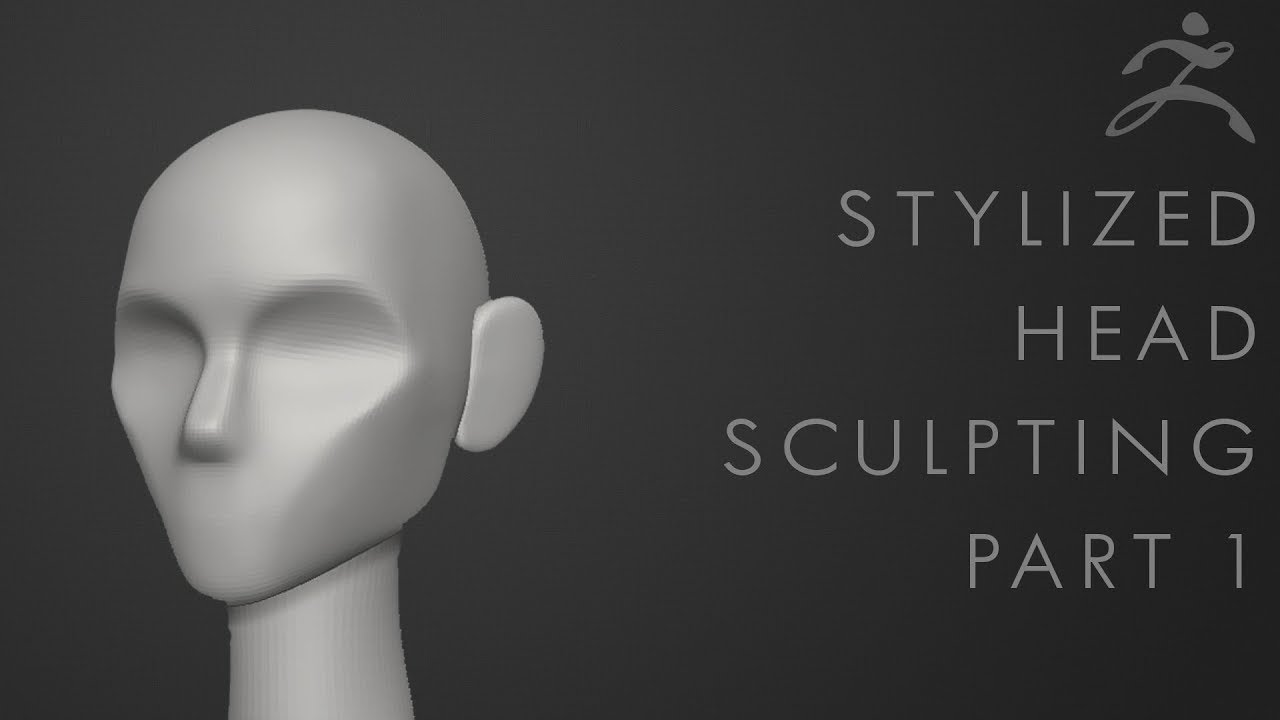
How to Sculpt Wrinkles? ZBrush TutorialStep 1: Go to Document in the menu bar and then select New document with WSize on, which will make the canvas size the same as the viewport size. Sculpting is the process of working a material such as stone or wood to change its shape. Sculpting a model in ZBrush is very similar to working with a ball. Sculpting a Head 1. Select the Move brush in the Brush palette. The simplest way is to press B on the keyboard to bring up the Brush pop-up palette, then.
Share: